Decorating A Narrow Mantle For Christmas
We'll show you a simple trick to setting up your Christmas mantel decorations in 5 minutes, year after year! Works great on narrow stone mantels!
Setting up Christmas mantel decorations can be a time-consuming task, but it doesn't have to be anymore! We used to have a hard time figuring out how to decorate our narrow stone mantel, but then we discovered one simple trick that not only sped up the decorating process (really, it only takes 5 minutes now!), but it also gave us more mantel space to work with! Curious? Then read on!
Before we go any further, be sure to follow us on Pinterest, Facebook and Instagram, and click the subscribe button at the top of this page to sign up for our email list so you'll never miss a post!
First, let me show you our Christmas mantel decorations from the last 2 years:
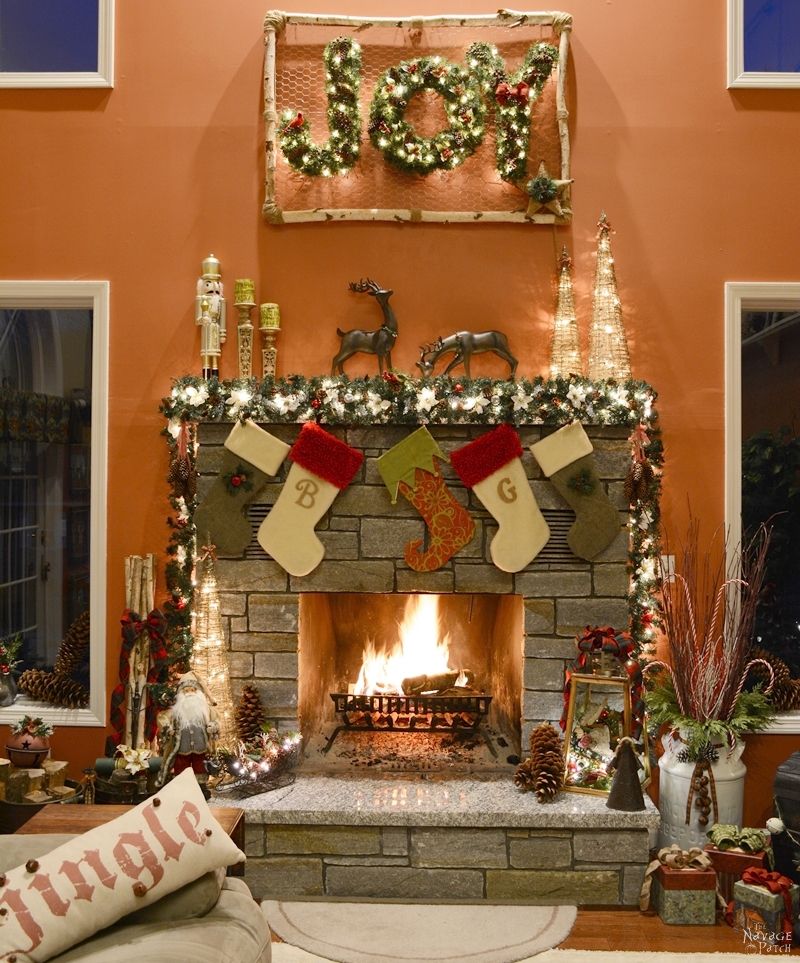
Yikes! Did we really live with that wall color for almost 3 years? Anyway…let's focus on the mantel. It looks pretty good right? And here is last year's mantel:

Now if I told you that it only took me 5 minutes to set up our Christmas mantel decorations what would you say?
"No way!" right?
Actually, sometimes it takes even less than 5 minutes – really, it all depends on how fast Greg can walk with a board in his hands hahaha :-D. Curious to know how? Let's start with looking at our problematic mantel first, shall we?

Our mantel is pretty narrow – only 6.5 inches, and it is smooth granite. This is the worst combination for any seasonal decoration, because nothing stays on! I even tried using heavy duty 3M sticky wall hangers with our granite mantel, but those hangers are not sticky enough to keep any garland in place for more than a day. Besides, even if I manage to get my garland to stay, then I have no room to put anything else on that mantel. It is just way too narrow!
Now some may think "You have an oh-so-awesome and handsome and fun and talented husband, so why don't you ask him to make a a wider wooden mantel for you?" Well…I asked him already, and the man said he would fix it! LOL.

I think it was 4 years ago when I asked him that. And of course, I reminded him every 6 months after that. The latest news on the wooden wide mantel is that I will be getting it "soon." Hurray! (Was it so obvious that I have my doubts about it? :-D)
Anyhow…despite all that, here is how I managed to have my Christmas mantel decorations for the last 4 years: a 6 foot 2×8 pine board and some EZ cable clips from Home Depot, and that is all there is to it. 🙂
Depending on your mantel height, you may need to stain the board beforehand. Our mantel is pretty high, so a naked board is not visible to anyone in the living room. Also, depending on how big and bulky your garland is, you may need to use anything from 7 to 11 cable clips on a 6 foot pine board. As my new garland (in the picture below) is a little bigger and bulkier than my old one, I decided to use 11 cable clips with the 6 foot board. But with my old garland (in the pictures above), I only used 7 cable clips as that was more than enough to keep everything in place.

I marked the spots where the cable clips would be and drilled the pilot holes for the screws.
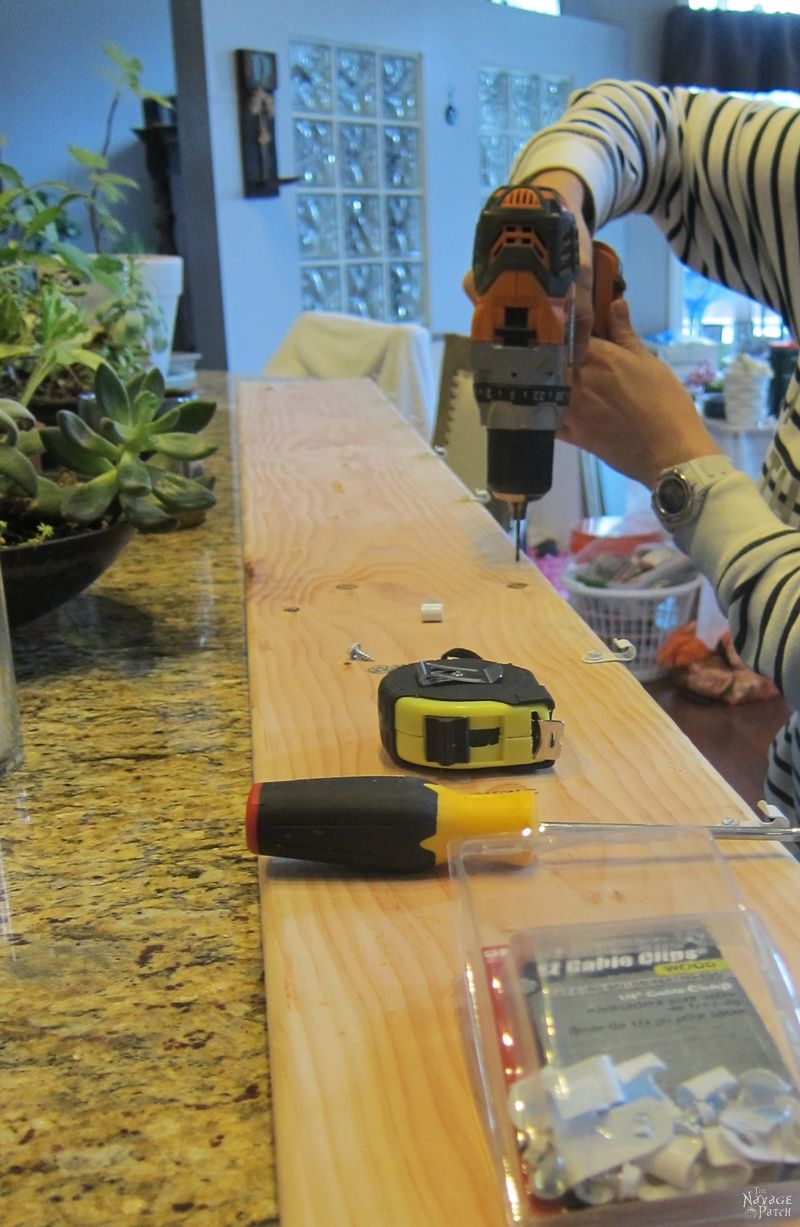
Then I screwed the cable clips onto the board.

Next, I hung my garland from those cable clips.
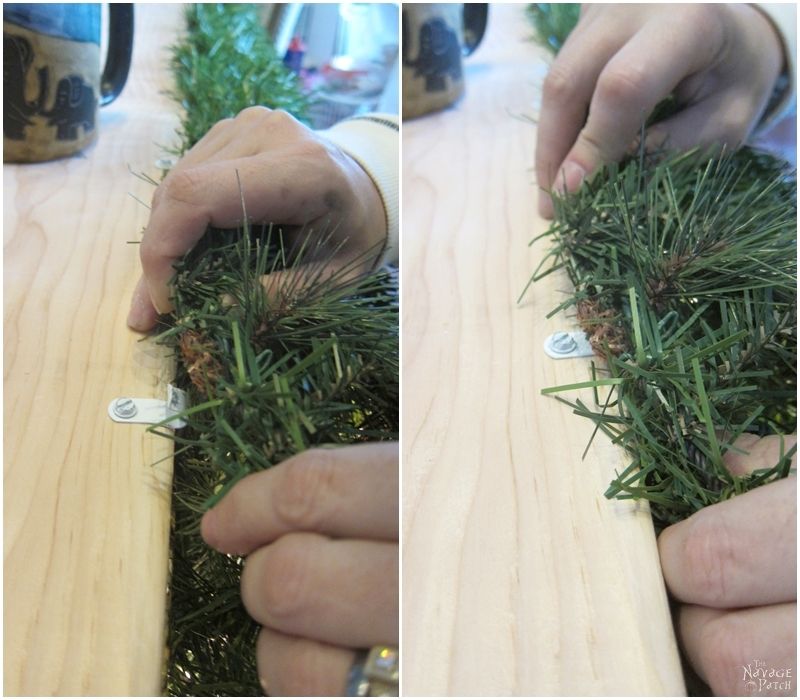
Then I started decorating our garland. As you may guess, this part is optional. I always like adding a bit of faux berries, pine cones and poinsettias to our garlands, as it makes it a bit more festive.

Once I was happy with the garland's decorations, I moved on to the side parts of the board. The steps were exactly the same here: I screwed 2 cable clips on each side then hung a faux pine garland from those cable clips.
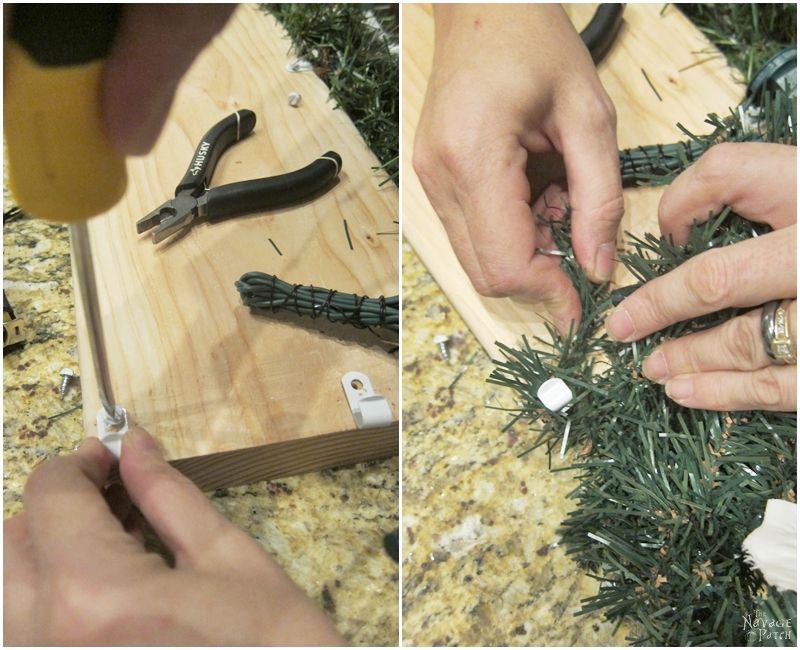
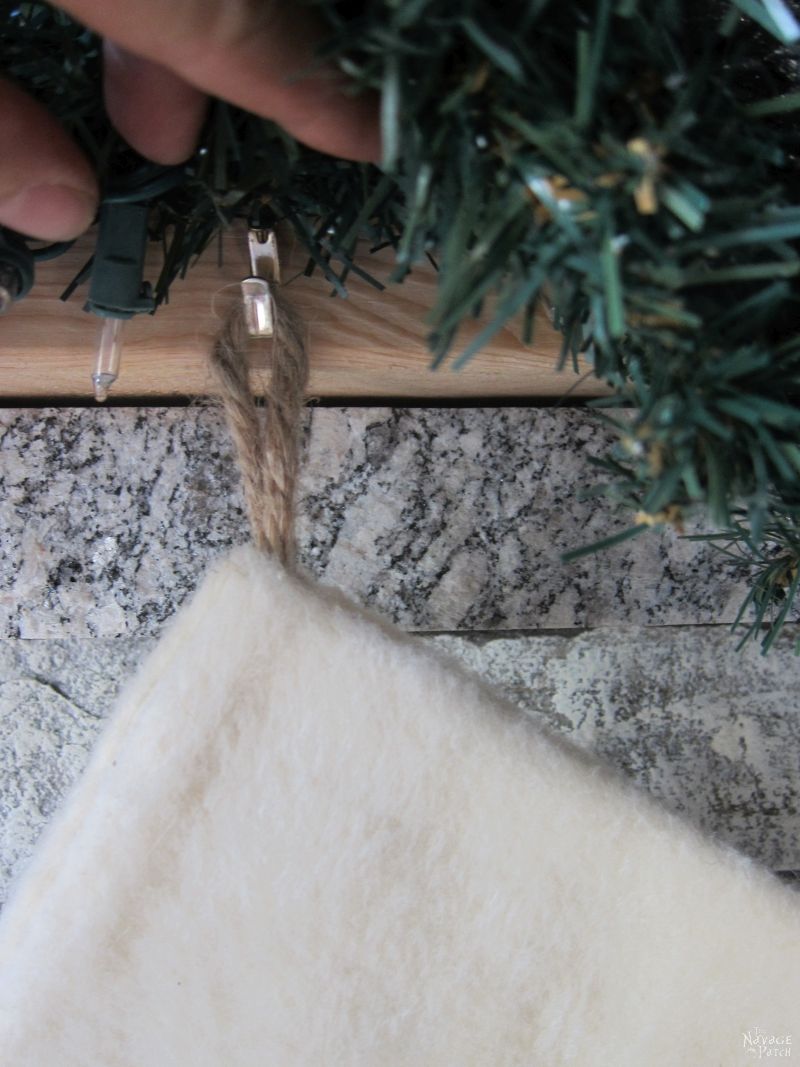
The next step is again optional: I nailed in 5 picture frame hangers on the front face of the pine board. These are for hanging Christmas Stockings as shown in the picture below.
As the final step, I asked Greg to help me carry our garland board, and we placed it right on top of our granite mantel.
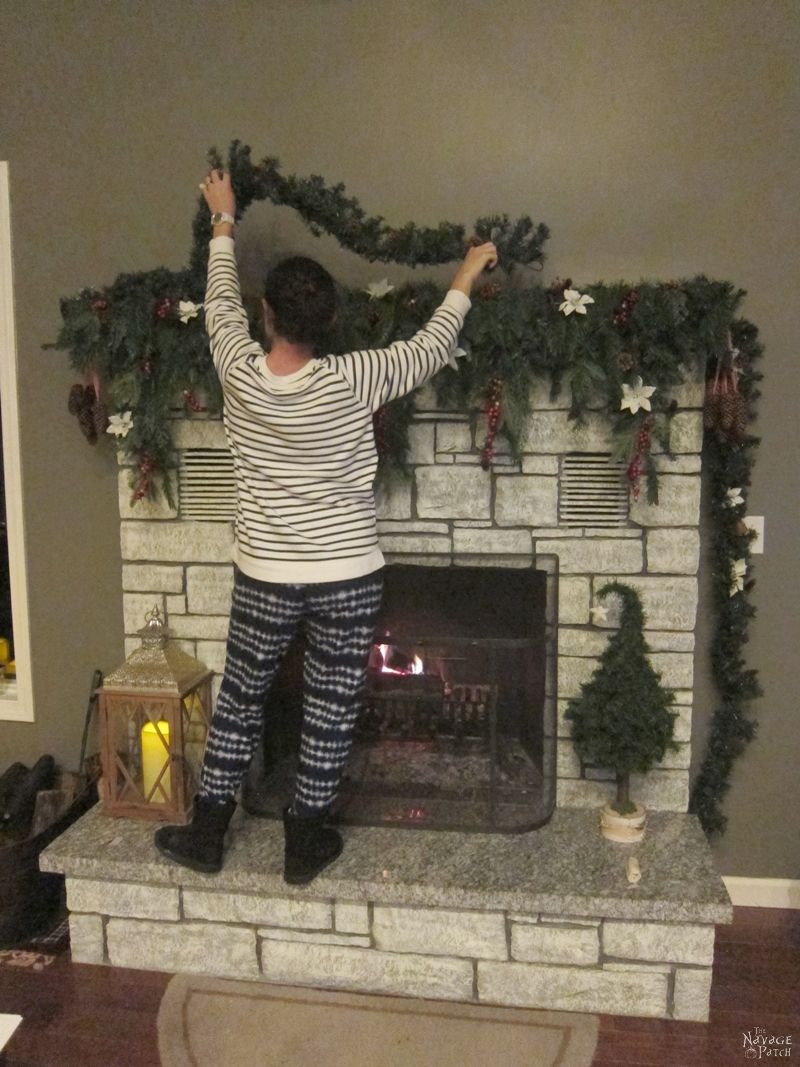
Handan's Ongoing Pajama Counter: 21
Once we placed the board on the mantel, he put the mirror back in its place, and I placed my other Christmas decorations on top of the pine board and voila!
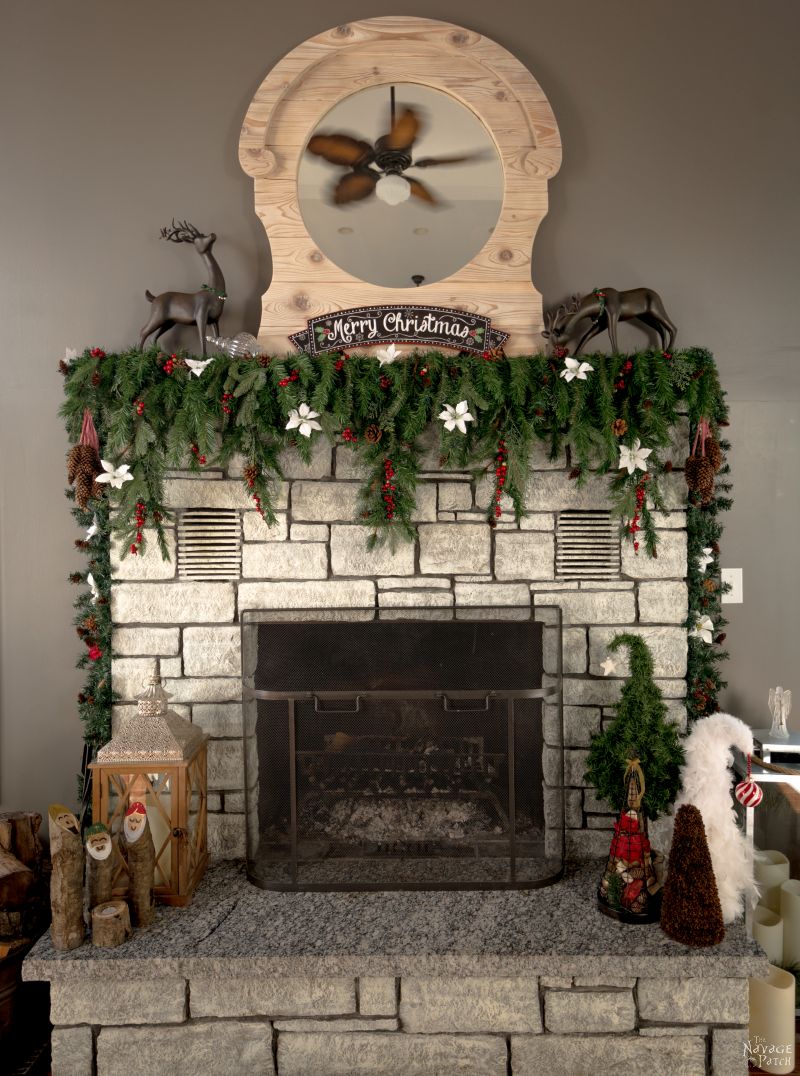
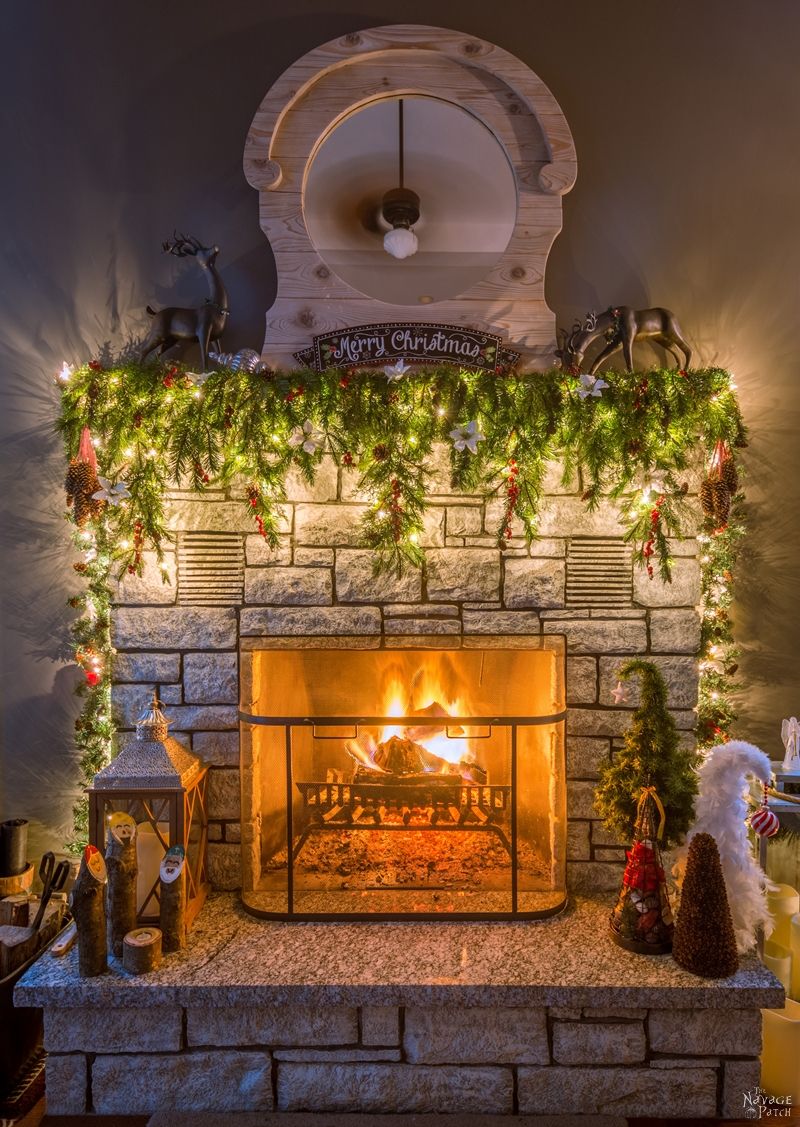
What do you think? It looks pretty good, right? And the best part is that our Christmas mantel decorations are now the easiest thing ever – only 5 minutes, year-after-year.

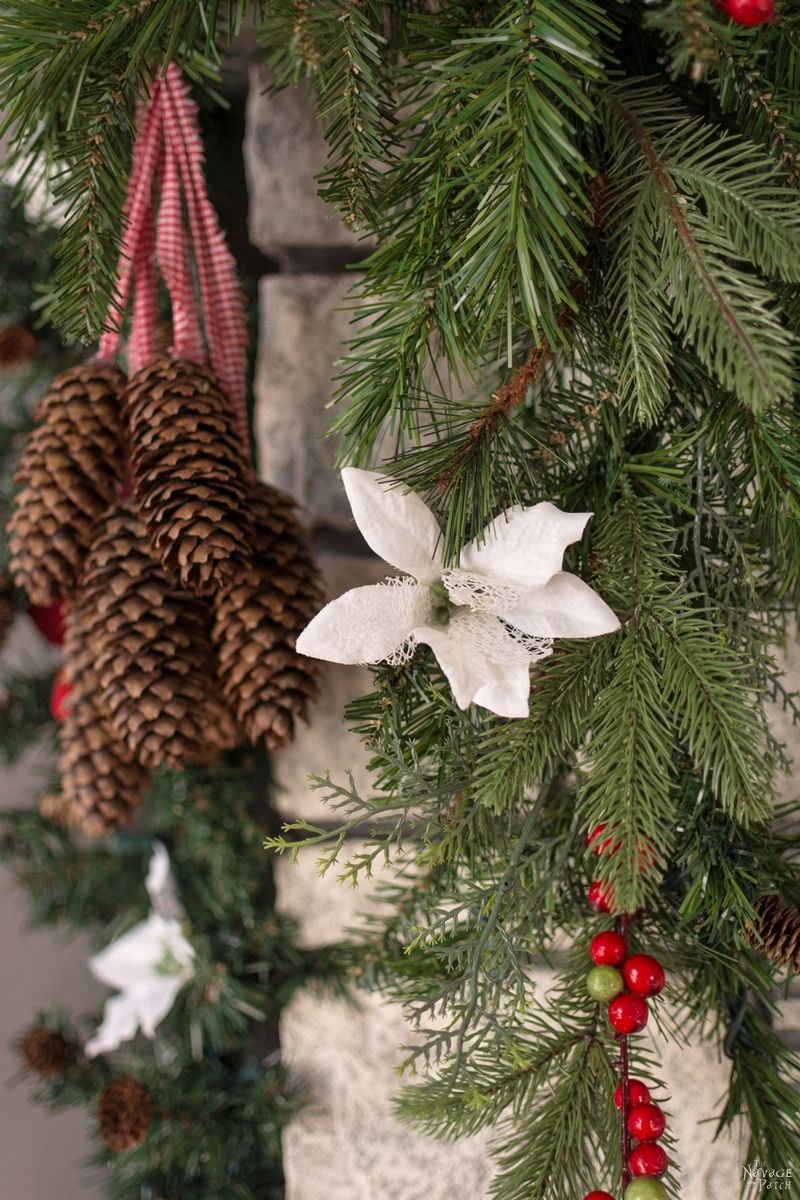
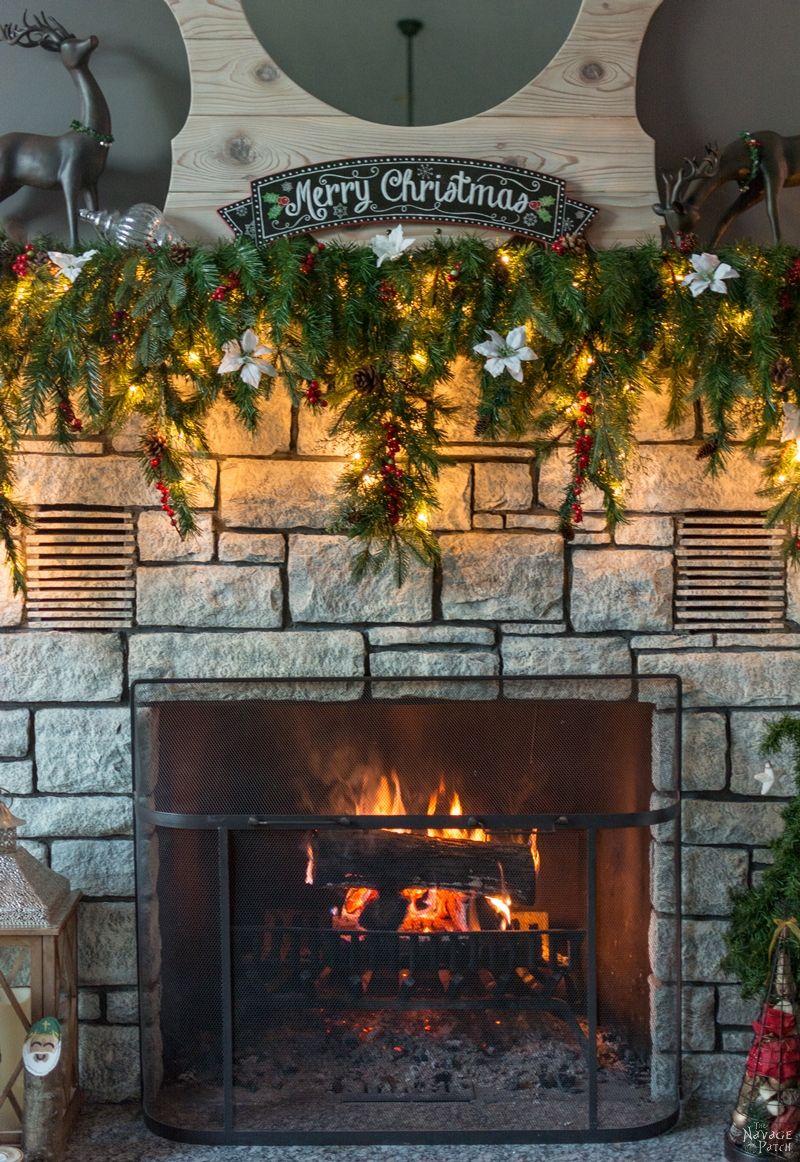
If you are wondering how we store this board, that is also very simple. I lay the side garlands on top of the board, and we store it on the top shelf in our basement storage area, letting the front garland hang down, so the shape stays as good as the first time I set it.
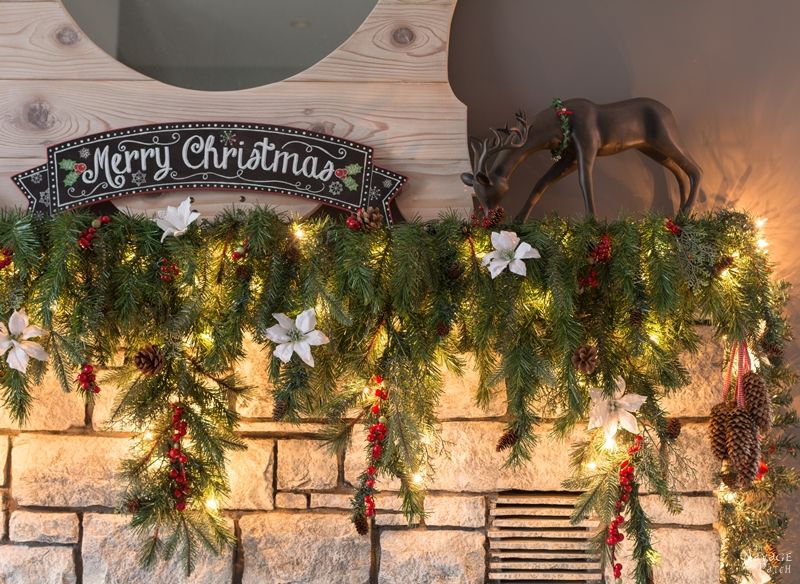
To be honest, after this post, Greg may finally turn our granite mantel to a wooden one, but still, I don't think I will ever give up on our ready-made-Christmas-garland-board, as it saves me a whole lot of time and stress during the holidays 🙂
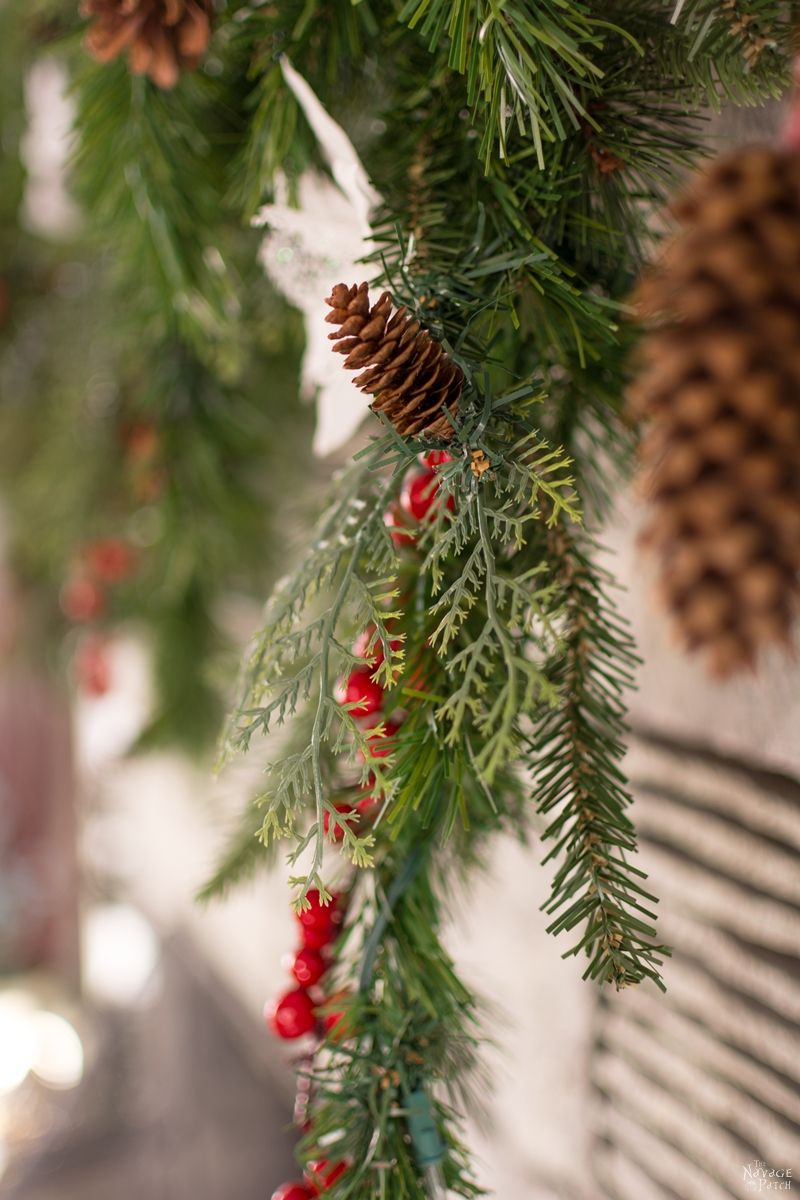
Talking about holiday stress and decorations, other than having this Christmas mantel, we are planning to skip our usual big Christmas decorations this year. And that includes having our usual big real Christmas tree. Luckily, I made the faux Alpine tree last year, and we'll put the presents under it, but that's about it.
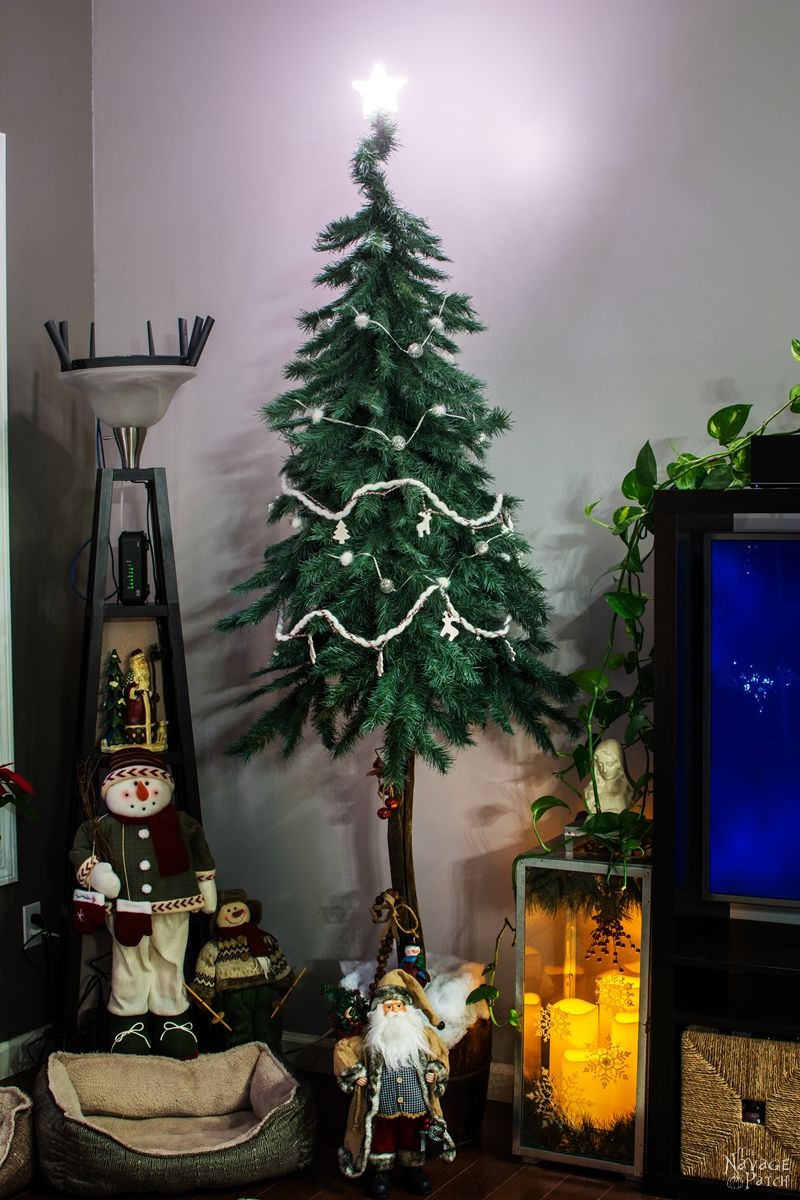
Our plan for this year is to relax and enjoy the season with family and friends. Hence this year, our Christmas related posts will focus on a little bit of gift wrapping, some awesome new printables, and a little bit of easy and lovely DIY Christmas decor 😉
Handan, xo
We love it when you share our posts on Facebook and Pinterest!


Decorating A Narrow Mantle For Christmas
Source: https://www.thenavagepatch.com/decorate-narrow-stone-mantel-christmas-5-minutes/
Posted by: caldwellhanceseles.blogspot.com

0 Response to "Decorating A Narrow Mantle For Christmas"
Post a Comment